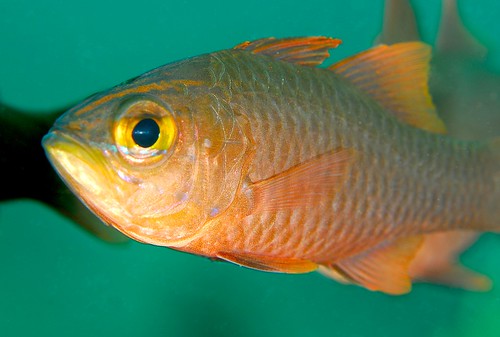
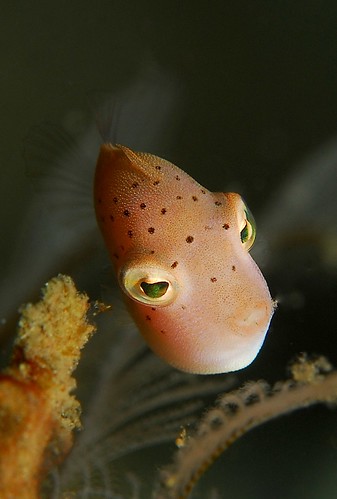
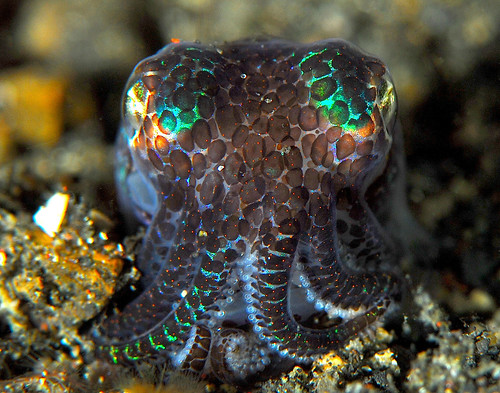
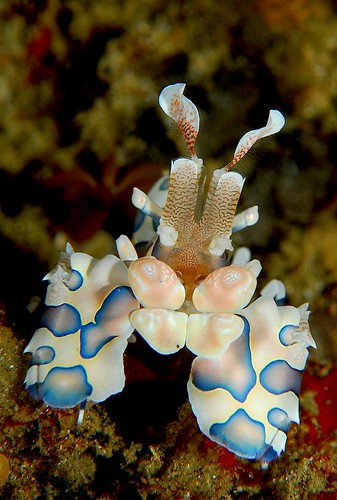
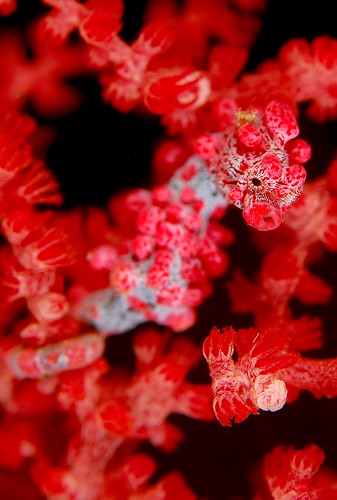
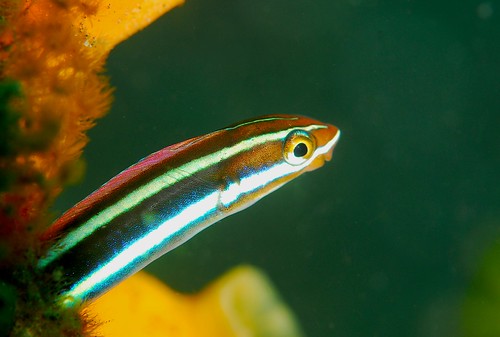
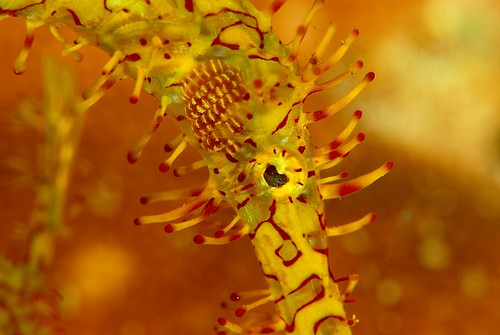
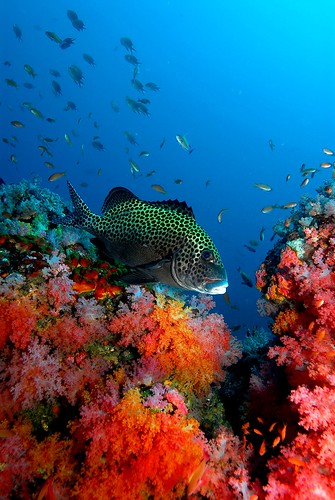
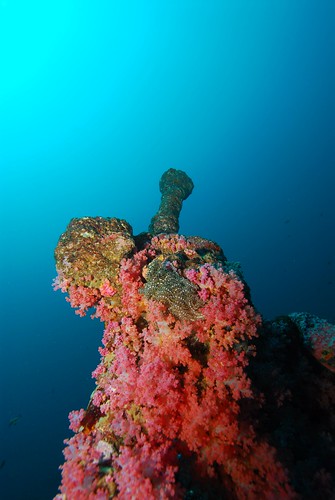
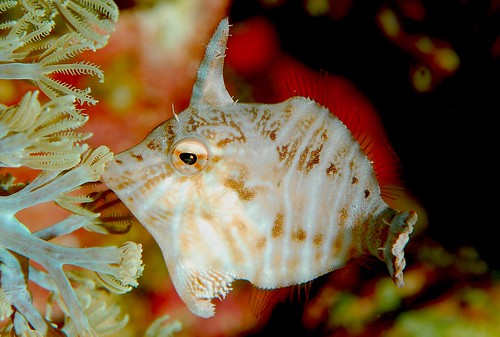
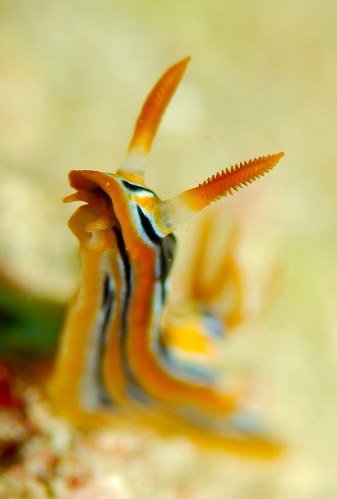
花錢加入coral realm已經滿一年了,剛好到了是否要繼續的時間點,不過,我已經將所有文章,包括各種魚的習性,分辨以及拍攝方法,都放入自己信箱,這篇文章,是我反覆ㄧ直閱讀的部份,剛好討論區有人問到如何拍攝,eye contact是一張成功照片做重要的因素,卻也是最難,只有偶像大衛都必列累積最多這種照片,拍遍所有魚的臉,也是我的夢想,與大家分享。
PS我是會員,可以轉載在私人網頁上面,希望他人不要copy,以免觸犯著作權,
Fish Watching - Photography
How to be a Better Fish Photographer
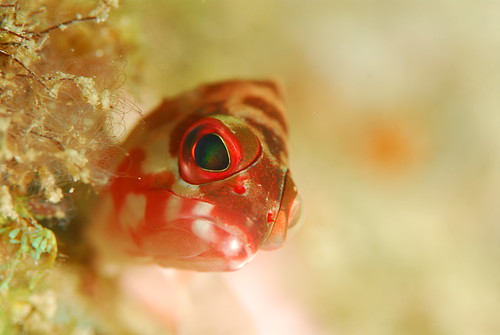
More sedentary fishes, like this arceye hawkfish, are easy to photograph, but more seasoned fish photographers will have shots of more active species as well.
Every year, there are more and more camera toting divers boarding dive boats around the world. Some of these divers are satisfied to take snap-shots of some of the marine life they encounter. Other divers are looking to shoot professional quality images to "WOW" their friends or to decorate their office walls. If you're one of these divers or even if you're just shopping around for the best photo equipment, you'll find some tips and techniques in this article to help you avoid some common underwater photography pitfalls and maybe even take your photos to the next level of professionalism.
� What's the Best Camera? Single-lens-reflex Camera or Nikonos?
It may be possible to take good, full-frame photos of small, bottom-dwelling fishes with the Nikonos close-up kit or extension tubes. But if you want to take professional-quality photos of small fishes (under 10 inches in length), you will want to invest in a housed single-lens-reflex camera or a Nikonos RS (a camera that is no longer in production).
There are several inherent problems with viewfinder cameras like the Nikons V and the Sea and Sea cameras. First of all, you will have to estimate focus distance. Although it can be done when taking fish photos, it is difficult for most divers to accurately estimate distances underwater. Also, the lenses available for these cameras limit the type of subjects you can photograph. For example, you will rarely get great photos of small, mobile fish with the lenses available for the Nikonos cameras. Some ingenious viewfinder photographers are able to get great photos of more agile fishes with close-up kits using tricks like baiting them into their camera framers. But by in large, it is difficult to get consistently good, small fish photos with these cameras. Viewfinder cameras are, however, good for shooting larger fishes and reefscapes. For example, you can get awesome shots of adult Napoleon wrasse or a school of bannerfishes with the Nikonos V and a 20 mm lens. Unfortunately, the most difficult Nikonos lens to use is the 35 mm, which is purchased by most new underwater photographers. The limited depth of field relative to a wide angle lens requires the photographer to be very accurate when estimating distance. For example, if you set the focus to 3 feet and an aperture at f 5.6, the depth of field for the 35 mm lens is between about 2.7 to 3.5 feet (a window of focus of less than 10 inches). With the 20 mm lens set at the same aperture and same distance, the depth of field is between about 2 to over 5 feet (a 3 feet "focusing window"). So, with the 20 mm lens there is a better chance of getting a fish in focus than with the 35 mm lens.
NOTE: Nikon will soon stop manufacturing the Nikonos camera and the accessories.
� More Light on the Subject: One or Two Strobes?
With a single strobe you will often get a shadow along the bottom of the fish that can be very distracting.
I, personally, believe that using dual strobes will improve the quality of your fish photographs. However, some of the best fish photographers in the world use a single strobe mounted over the lens (e.g., Roger Steene, Paul Humann).
One advantage of using two strobes is it helps eliminate the distracting shadows that are sometimes created when using a single strobe. These shadows can be extremely problematic if the fish you're photographing has a dark belly. Another advantage when using dual strobes is that you will be able to shoot at higher apertures, which means you'll have a greater depth of field.
One disadvantage of using dual strobes is that having two strobes and strobe arms makes it more difficult to get into tight spaces, like under overhangs and in caves. (Many photographers use extremely long arms with their strobes, which is not necessary when taking fish photos with a macro-lens.) I've had good success with both dual sync cords and the Ikelite TTL slave when using two strobes.
� The "Marriage" Between Film and Strobe
When it comes to the final photos, the color temperature of the strobes you use and the film you select can make a big difference. Some strobes are "warm", which create pleasing (and sometimes exaggerated) reds, oranges and yellows. Others are "cold", which can result in slightly muted or warm colors.
So what's the best color temperature? It's actually a function of personal preferences. I personally like warmer colors, so I use Velvia film and Ikelite Ai (100) strobes. I have also used Nikonos SB 105 and the Ikelite Substrobe 50 strobes (which tend to be slightly cooler) with the same film. Although the results were good, I personally prefer the Ai/Velvia marriage better. Some of the more popular films used by professional fish photographers include: Fuji's Provia 100 and Kodak's professional Ektachrome 100. Some photographers also use Velvia, but instead of shooting it at its normal ASA (which I am told is actually 45 - I shoot it at 50) they push it to an ASA of 90. If you try this technique, you must remember to tell your developer that you "pushed" the film. "Pushing" film often adds to the film development cost.
� Should You Use TTL (Through the Lens Metering)?
TTL works wonderfully with all but the darkest or most reflective fishes. In the case of this midnight parrotfish, the strobe overexposes the light blue in an attempt to properly light the darker body coloration.
Why not, it works great in most situations! There are several exceptions that you'll want to keep in mind: when your subject is either very dark (e.g., a midnight angelfish) or when it is highly reflective (e.g., a tarpon). Also, you wouldn't want to use TTL if you're shooting a subject on a light sand bottom which would result in an overexposed photo.
How do you deal with these exceptions? If you own a housed SLR with an exposure compensation dial, overexpose it if it's a darker subject and underexpose if it's a reflective subject. When doing this, it's a good idea to bracket (e.g., compensate by � of a stop, by � a stop and/or by a full stop). Note: If you're using the Nikonos and want to compensate the exposure, simply change the film speed dial. To underexpose by a full stop double the ASA setting (e.g., change the ASA dial from 50 to 100). To underexpose by a stop divide the ASA by two (e.g., change ASA dial from 50 to 25).
� Which Lens is the Best Choice?
The lens you choose is a function of the fish you want to photograph. If you're interested in shooting smaller reef fish, the 105 mm lens is the ultimate lens. This telephoto lens lets you fill the frame with most of the smaller, less approachable reef fishes. Some professionals will also use the 200mm for shy or smaller species. The depth of field with this lens is small and you will have to use high powered, narrow beam strobes so that you can shoot at higher apertures (e.g., f22, f32).
The 60 mm macro-lens is a good choice for more sedentary species, for medium to larger forms, or if you want to shoot smaller fishes with a lot of habitat. It's also possible to get good full frame shots of smaller fish with this lens, but it will often take time and patience to get close to the fish. (You can shoot the same fish at 1.75 x the distance with the 105 mm lens.) With the 60 mm you get greater depth of field than the 105 (at the same apertures) and it has terrifically crisp focus. Some fish photographers are also using zoom lenses, like the 80 to 28 mm. This enables them to shoot small fish, like a clownfish, as well as larger species, like a full grown sweetlips, on the same dive. In most cases, the lens will need to be modified slightly and you will have to use auto focus, at least in some housings. A Nikonos armed with a 28 or 20 mm lens will work on larger fishes, like adult angelfishes, sweetlips, snappers and jacks but they are not practical for small fish photography.
� Technique: Prefocus and "Swim" the Fish into Focus
Although it's easy to get good sharp photos of more sedentary fish species (e.g., frogfishes, lionfishes), getting perfectly focused shots of the more mobile forms is a more difficult task. In fact, if you want determine the talents of a fish photographer, check out how many of their photos are of more active species like wrasses, angelfishes, butterflyfishes, anthias, etc. With active fishes it's difficult to rack the focus in and out fast enough to get a good photograph. So, most pros prefocus the camera and "swim" the fish into focus. Just focus on a stationary object that's similar in size to the fish you want to photograph. After you prefocus the camera, look through the viewfinder and slowly move toward the fish or let the fish approach you. When the fish comes into focus (this might only last for a fraction of a second), press the shutter button.
How about auto focus? I've had some success using 60 mm macro-lens and auto focus, but in most cases I think manual focus is the best!
� Technique: Fill the Frame with Fish
"Hey - What's that orange blob in the middle of that photo?"
Fish photographers vary on how much habitat they leave in the frame (around the fish they are photographing). In some cases, you may not have a choice because of the specific fish's disposition. For example, filling one-third of the frame with a shy, rare fish is better than getting no photo at all. Also, some photographers like having space around the fish so the photo can be used in a greater number of formats (e.g., if there is enough space around the subject the photo can be cropped for either a vertical or horizontal format). Other photographs may want to show the habitat where the fish lives, as well as the fish itself.
But, many fish photographers are not happy with a photo unless the fish fills the frame! Renowned fish photographers, Roger Steene, is such a person. He's often not happy with a shot unless the snout of the fish is almost touching one edge of the frame, and the tail is nearly up against the opposite edge! Of course, filling the photo with fish often means investing more of your dive time on each subject. If you want to get photos of as many species as possible on your trip, you might be more successful in your objective if you fill about one-third to one-half of the frame with fish, and rely on cropping if you ever want to publish your shots.
� Are you a "Fish Chaser"?
A nice "butt shot" of a queen angelfish - don't bother chasing fish, its a waste of time.
From time to time, we all have been guilty of this unproductive behavior, but some fish photographers are perennial fish chasers. Rather than stalking their quarry or remaining still and letting the fish draw near, they try to out-swim and out-maneuver them! You might see the fish chaser dash from 60 to 20 feet in their futile attempts to catch-up with their finned subject. While they can be comical to watch, they usually end-up back at the boat 30 minutes before the rest of the dive party (and hopefully not in physical distress from embolism). Unfortunately, when Fish Chasers gather around the light table after the E-6 is done, they can never understand why their shots don't look like those of the more experienced photographers. They typically have a lot of great fish "butt shots", that is photos of fish swimming away from their camera! The subjects are also small in the frame.
Just remember, there are very few cases where trying to out swim your subject is going to work, so it is best if you never develop this bad habit.
� Flipping Rubble and Wafting the Sand
Flipping rubble and wafting the sand are two very effective for attracting certain types of fishes, in particular opportunistic predators, like certain groupers, wrasses, sand perches, triggerfishes and puffers. These fishes often associate with other species that disturb the substrate and flush out potential prey. So they are quick to arrive when they sense this activity. Many of these fishes will come very close to inspect what goodies you may have exposed.
One potential problem in using these techniques is that it stirs up sediment which can cause back scatter in your photos. The amount of sediment suspended and the length of time it stays in the water column is a function of the substrate type and the water currents. Obviously, wafting fine sediment or mud can lead to conditions that will make seeing, let alone photographing, your subjects difficult. This is especially true if it is in a quiet lagoon (the habitat where you normally find this type of substrate). In contrast, wafting coral sand in an area with brisk water movement will not impede you ability to take good photos. The same applies to flipping pieces of rubble (e.g., you are going to have problems if you pull a dead coral branch from the mud and flip it over). Be aware that there are divers and dive masters that frown on this technique, suggesting that you are disturbing the environment and exposing cryptofauna (hidden animals) to excessive (unnatural) levels of predation.
� Keep an Eye on Your Air Supply
It's very easy to get caught up in a subject and forget that you are terrestrial not amphibious! The next thing you know it's getting a little harder to extract air from your nearly empty scuba cylinder. It's not uncommon for serious photographers to dive alone, which compounds your problems if you ran out of that precious, life-giving gas. I will be the first to admit that I have been reckless about watching my air supply. The last such incident occurred because I was engrossed in trying to photograph the spawning behavior of scrawled filefish. Fortunately, my wife, Janine, was nearby and she gladly lent me some air so I could make a 5-minute safety stop and get back to the pier.
So, be sure to keep a close eye on your air supply. This especially applies to those going after that deepwater goby or butterflyfish. For you fish photographers that often dive alone, a Spare Air or a pony bottle may be a great investment in your dive safety.
� Tip: Be fish-friendly
I know how tempting it is. You say: "If only that frogfish was in front of that orange sponge, with its side, not its tail, facing me! It won't hurt to move it over there." Well, it might not, but then again it might! Some animals live in a particular location for a special reason. Maybe the location where it has chosen to roost is an area where it blends better with its surrounding and is less conspicuous to potential predators. Maybe it's found an ambush site with a particularly large assemblage of smaller prey fish. You ask: "What if I move it from point a to b, and then move it back to point b when I am done taking pictures?" The fact is, the fish's little brain is not able to discern a good-hearted photographer from a hungry predator. So, when you move any fish, you are going to cause it some stress. This in turn results in a neuroendocrine response, with hormones being released into the blood stream that effect the "normal" metabolic and osmotic state. Spotte (1992) lists the following physiological effects that result from stress "osmoregulatory disturbances, depletion of�itamin C, changes in the oxygen-binding properties of hemoglobin, altered lactate metabolism, altered lipid metabolism, changes in the blood chemistry, and immune suppression resulting in predisposition to disease."
Am I saying that by moving a frogfish and spending five minutes taking its photo is going to kill it? No, but there will be a metabolic cost to the fish if you incite a stress response. If the fish you stress is otherwise healthy you may not cause its demise, but if it is in poor health to begin with, physiological effects brought on by stress may be its undoing. Also, if the fish is a resident of a particular area that gets a lot of diver traffic, it's more likely that it will move off to find a new place to live if it's frequently harassed by photographers.
